TERRELL THEEN
PORTFOLIO
THEMED LIGHTING DESIGN CONCEPT LIGHTING FABRICATION DRAWINGS
Themed Lighting Design - Concept Sketches & Renderings

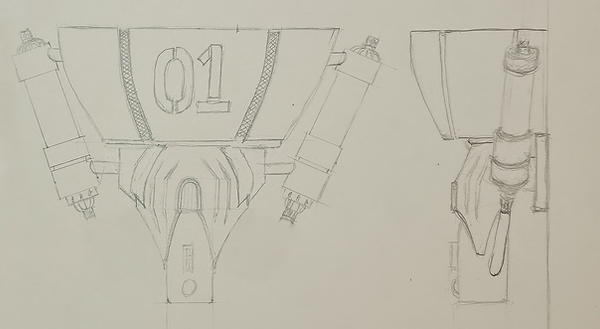


Case Study: Designing Light Through Historical Inspiration
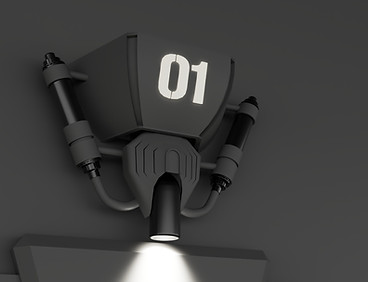
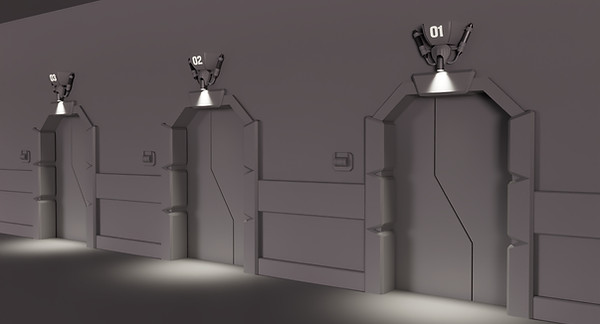
The challenge was to design a family of custom light fixtures for the queue of a rocket launch attraction. The fixture family included wall sconces, floor-integrated lighting, and a ceiling-mounted centerpiece. For this case study, I focused specifically on the wall sconce as a representation of the overall design approach.
The Inspiration:
This portion of the queue is inspired by the early years of NASA’s Moon program in the 1960s, so I wanted the fixture to reflect the visual language of that era through its form, symbolism, materials, and finish. Several years prior, I had the opportunity to tour the historic launch complexes at Kennedy Space Center, including areas now associated with the United States Space Force. While standing at Launch Complex 34, the site of the tragic Apollo 1 capsule fire in 1967, I noticed two remarkable blast deflectors positioned nearby. These massive structures were designed to sit beneath a Saturn rocket and redirect engine flames away from the launch tower during liftoff.
I photographed them immediately, knowing their unique shape and engineering language would eventually find its way into one of my designs. At the time, I never imagined that inspiration would become the foundation for a custom light fixture.


The Finishing Touches:
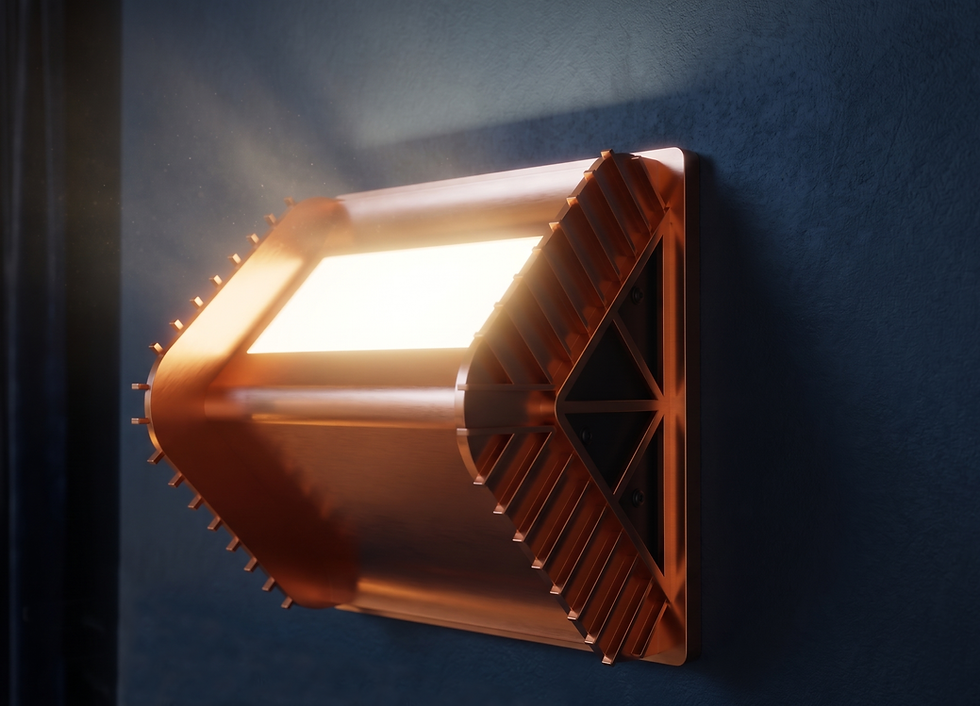
With the primary form language established, I began exploring the appropriate finish and material character. Early options included glossy powder coat, brushed aluminum, and solid matte black. However, as the research developed, I became increasingly drawn to the gold and copper tones associated with the Apollo Lunar Module. The spacecraft’s thermal protection used advanced lightweight materials of Kapton and Mylar, creating a distinct metallic foil appearance that became one of the most recognizable visual elements in images from the Moon.
That discovery led me toward a satin copper finish for the fixture family. It provided a strong visual reference to the Apollo era while giving the design warmth, contrast, and a clear connection to the historic context of the attraction.


The Concept Sketches and Renderings:
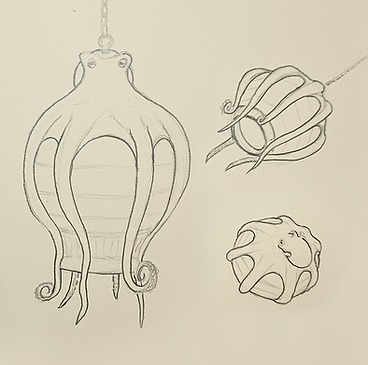
During the research and ideation phase, my preferred method is still one of the most direct: drawing paper, pencils, and a good electric sharpener. Through sketching, I explored multiple ways to incorporate the form of the blast deflector while adapting it to the functional requirements of a light fixture. These studies considered proportion, orientation, light direction, mounting, maintenance access, durability, heat, electrical needs, safety, and applicable code requirements. I also created quick hand renderings to study how various materials and finishes might affect the character of the design.

The CAD, Fabrication Drawings and 3D Exploded Isometric:
Once the design direction was established, I began introducing the real-world constraints required to turn the concept into a functional, safe, and buildable product. Using CAD, the fixture was developed with specific technical information including material thickness, fasteners, electrical connections, lamp source, LED drivers, gaskets, water resistance, heat dissipation, finish thickness, light angle, intensity, and estimated foot-candle performance.


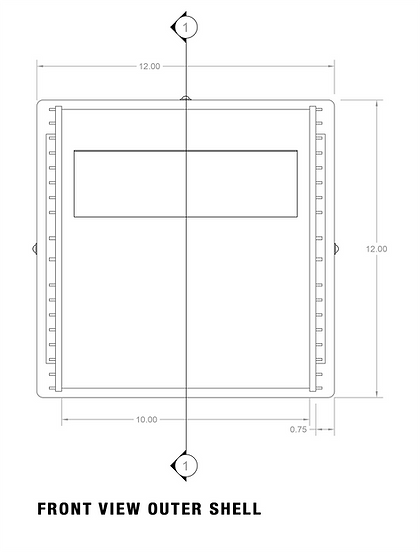
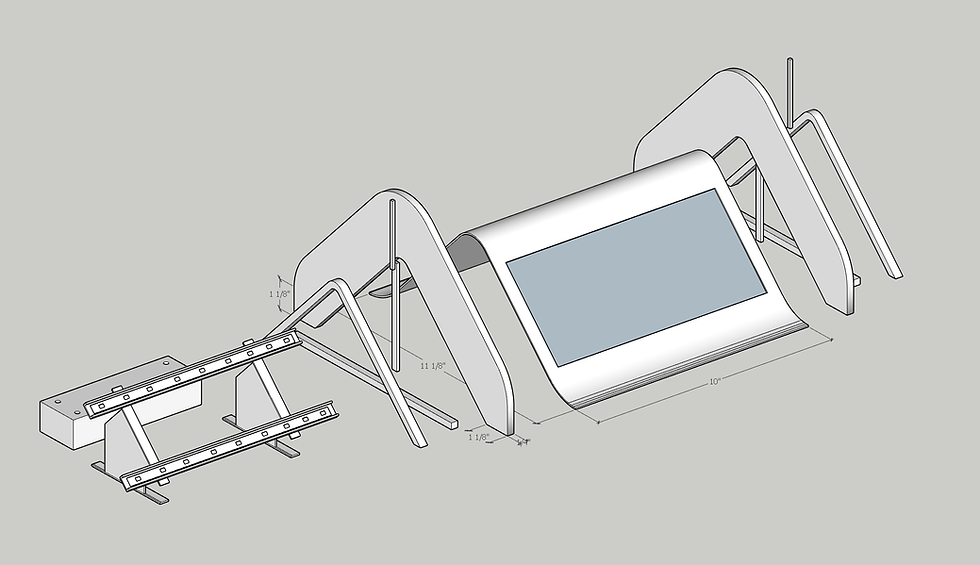
This phase is where the design becomes fully grounded. It requires a careful balance between preserving the original creative intent and making the necessary adjustments for fabrication, installation, maintenance, and long-term performance. Every detail is defined, labeled, and coordinated to ensure the fixture can function as both a themed design element and a working architectural light fixture. From this process, a full set of fabrication drawings, a parts list, and a bill of materials are created.


All details are communicated in these drawings to ensure the fabrication team is clear on what the design looks like, the sizes of parts and how they all fit together.

The Lamp Source and Basic Light-Throw Calculations:
My chosen setup
Lamp: Diode LED BLAZE tape, 24V, 2700K
LED driver: Diode LED OMNIDRIVE 24V Class 2 Constant Voltage Driver, 20W
Diode LED BLAZE 24V warm-white LED tape was selected for its compact profile, low heat output, wet-location construction, and ability to create a soft, even glow through the frosted glass diffuser. Paired with a Diode LED OMNIDRIVE 24V Class 2 driver, the system provides a clean, serviceable, constant-voltage lighting solution suited to the enclosed wall sconce design. The following study illustrates how the light projects upward, reflects off the ceiling plane, and gradually reduces in foot-candle intensity as it returns toward occupant and floor level.

The 3D Model:
After completing the CAD drawings, I developed a virtual version of the fixture using 3D modeling software such as Rhino, SketchUp, or Maya. This model was used for visualization, allowing the fixture to be studied from every angle and evaluated within an interior setting or a virtual version of the attraction environment. Realistic materials and lighting helped communicate how the final design would feel in context.
Virtual reality is especially valuable at this stage because it allows the fixture to be experienced at scale. Rather than simply reviewing the object as a standalone product, VR makes it possible to understand how the light, form, finish, and placement contribute to the overall guest experience.


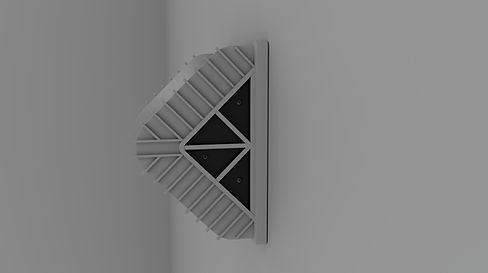

The Finished Fixture
Case Study #2: Designing Light For Maximum Function
This light fixture was designed specifically as part of a family of fixtures themed around a 1700's pirate village. Many of the fixtures, including this one, where designed with the idea that some of them had been taken from ships, ship-wrecks, or in other forms of plunder, so they were designed specifically around the styles, materials, and fabrication techniques found in England, Netherlands, and Spain during that time period.